CHAPTER 3 - SHIP GRAVEYARD
Last modified 12/12/04
Mission:
Location: Village of Graystone and Three Stones, inside a crashed Ikazuchi Starship, Dr Osmund compound, above and below Granite City, and area around Invid Stilt Hive
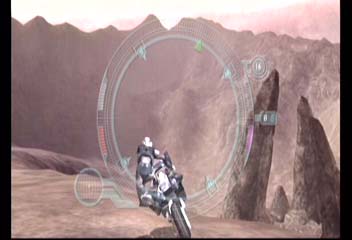
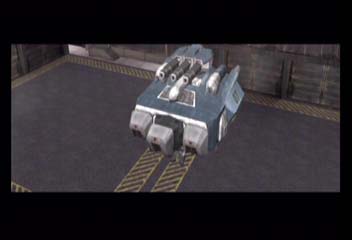
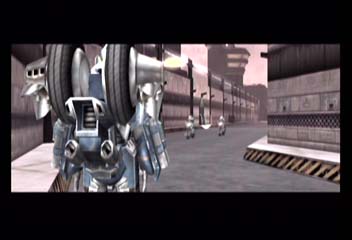
Mecha: Battler Cyclone.
Weapons: Gallant Rifle and Wolf Auto Pistol
Approximate Time for Competition: 45 minutes
Opponents:
Introduction
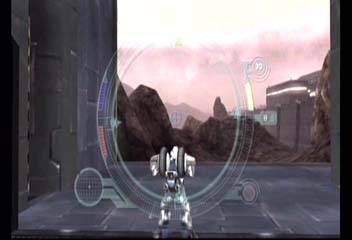
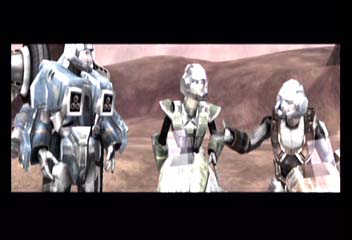
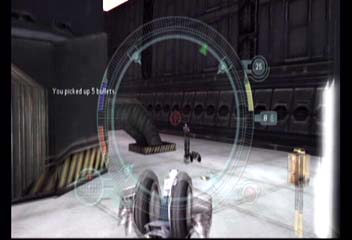
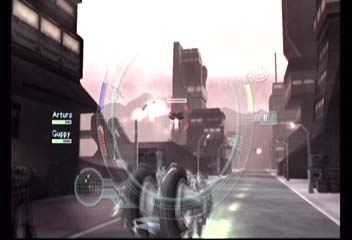
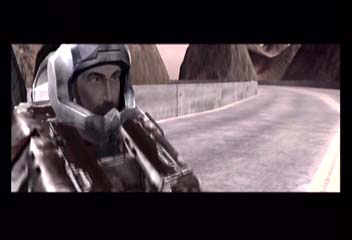
Guppy: "This place gives me the creeps. Silas always said the wastelands were super dangerous. Do you think the others made it through here ok? Gees, what did I do to deserve the silent treatment. That is ok, I am use to it. Most of my friends ignore me too. By the way take this rifle stock it will give your Gallant a bit more punch."
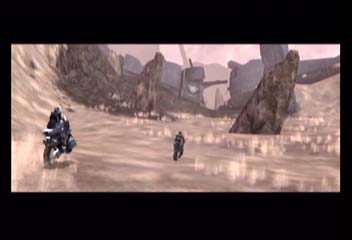
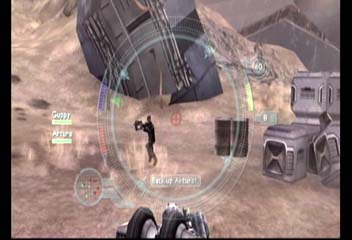
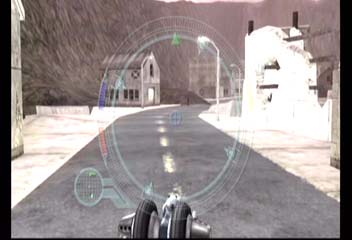
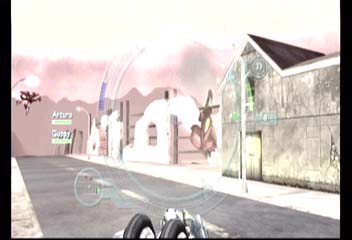
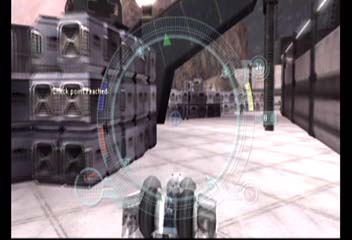
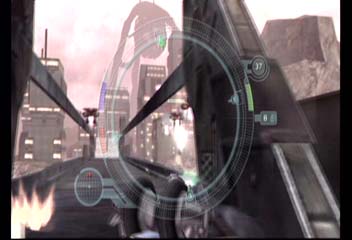
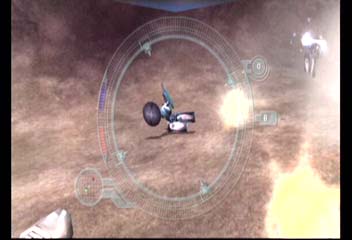
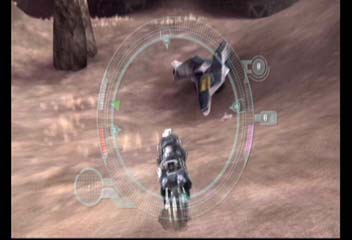
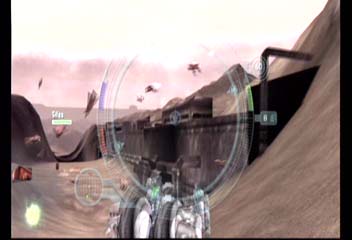
Notes-1: Arturo will be under attack by several of the "locals" and you and guppy will have to head through the crashed Garfish cruiser to help him. The enemy sympathizers are armed with Wolf Auto Pistols. Use the debris field as protection as you kill each Invid sympathizer one by one.

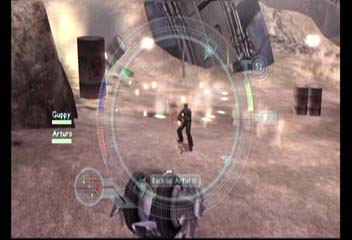
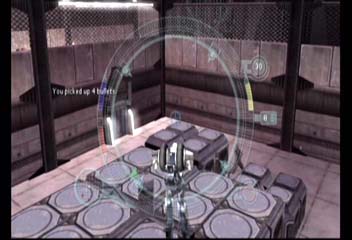
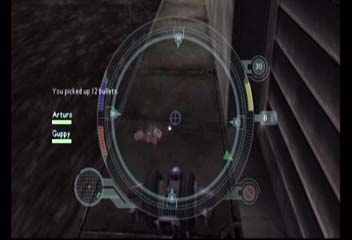
There are numerous explosive barrels laying about, so use them to your advantage. After you have killed approximately 4-6 sympathizers, a second wave of enemies will attack.
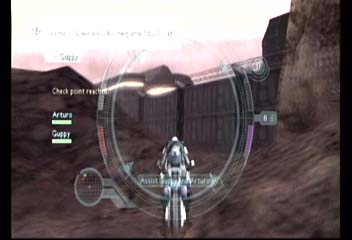
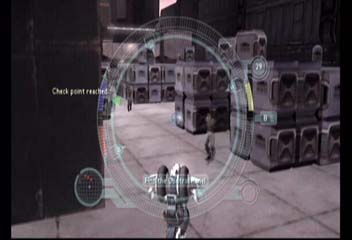
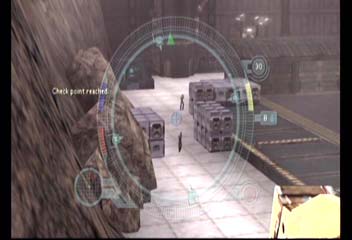
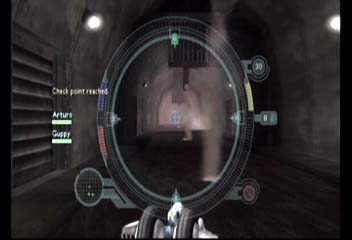
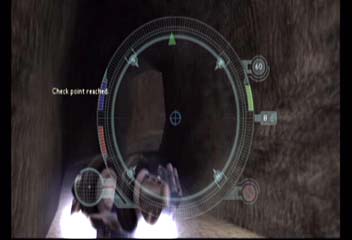
After you have killed the approximately 4-6 sympathizers in this second wave, you reach a check point. You will listen to the following exchange:
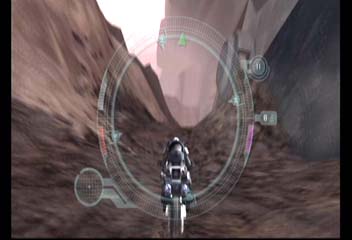
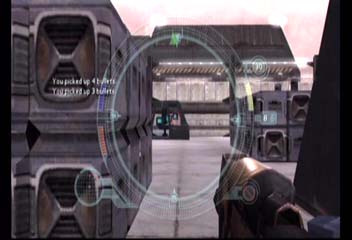
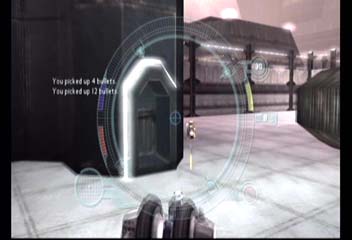
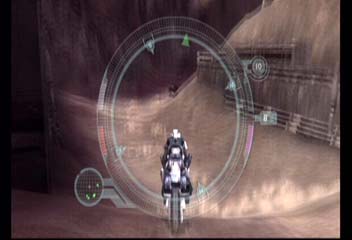
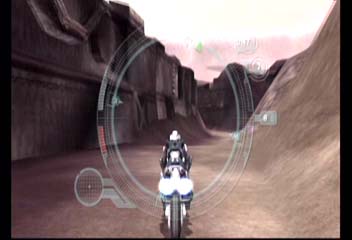
Other than the ammunition laying around for your Wolf, there is nothing of interest in the area. Transform into cycle mode and travel to Graystone which is only approximately 10 seconds away to the left of the stilt hive.
Upon entering Graystone, you immediately get the feeling that the locals do not want you here. They tell you, "Please, just leave us be." As evident from the destruction of a great number of buildings in town, the town has suffered heavily from the Invid occupation.
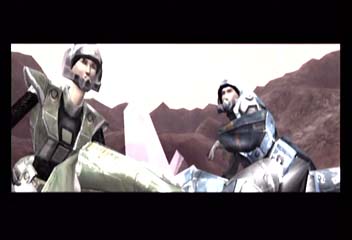
In town you will meet several interesting persons including: Pedro, who will tell you that if you need to know anything about the town "I should be the guide you come to", and Scott and Lancer. They will say the following:
Once you get half way through the town Arturo will tell you, "Hey Locke, while you're checking out Graystone be sure to investigate Three Stones next to the town." Head down into the valley next to Graystone to investigate the three oddly shaped stones.
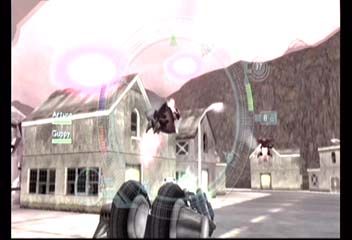
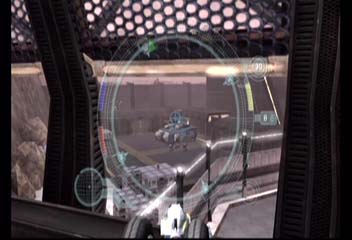
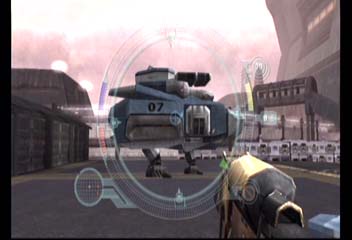
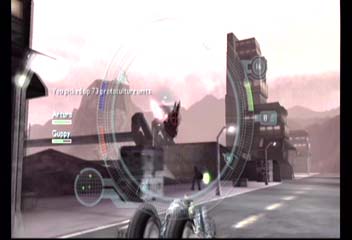
Once you get to the three oddly shaped stones, Invid Armored Scouts will head out of the center of the structure and start to attack the town. Both Guppy and Arturo have reached the town and Guppy will tell you, "Help! Locke, it is an ambush. Get back to Graystone quick!" You will have reached another checkpoint. Transform into cycle mode and head back to town.
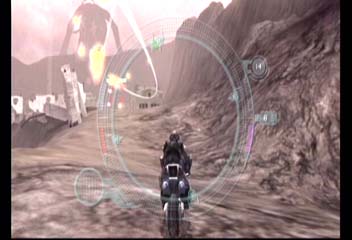
As you enter town, fire a couple of missiles from your cyclone to obtain some quick kills. As you press forward, be careful as Invid plasma bolts will come down from the sky. Quickly head through town to meet up with your team members at the entrance of the town. From here you can better protect them from the Invid attacks which are coming from the direction of the three stones.
After you have killed approximately eight Invid Armored Scouts. The following conversation will take place:
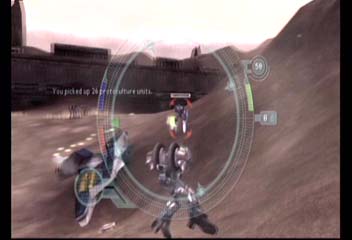
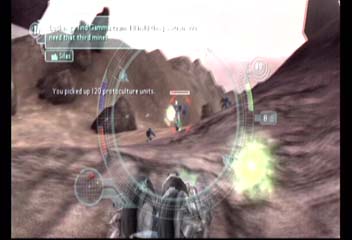
Pick up any extra Protoculture cells and head over to the crashed ship, straight out from the cities entrance
Kills in this section - 8 Mercenaries and 8 Armored Scouts.
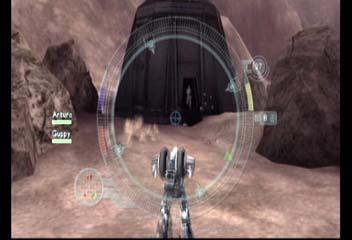
Notes-2: Once you get to the ship navigate to the door where both Guppy and Arturo will be waiting for you. Guppy will say the following: "Hmm, Looks like a simple encryption scheme. There you go. After you gentlemen." The doors will open and you enter into the ship and reach a checkpoint.
Upon entering the ship, the following dialog will occur.
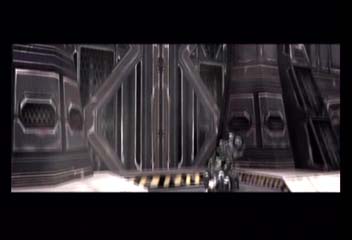
Turn on your nightvision as it will increase your visual range albeit at a reduction in your visual clarity. Head down the hallway and turn to the left into a room and activate a computer console. This will open the doors to the room immediately to your front as you head back down the hallway.

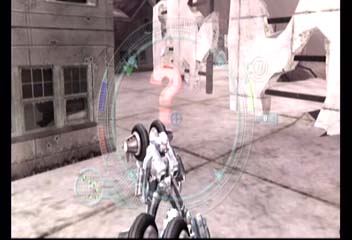
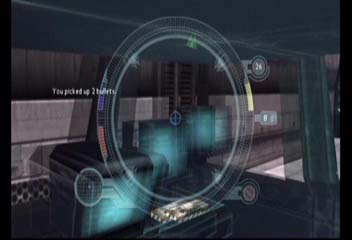
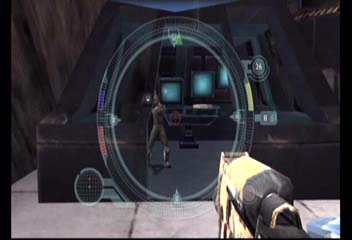
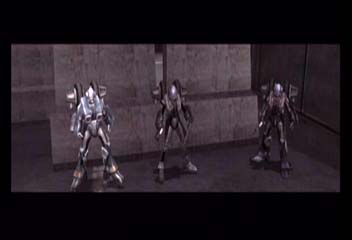
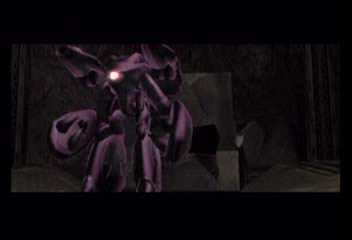
Once you get into this second room with two VFA-6 Alpha fighters, Guppy will tell you, "Locke its a trap! Watch out!" The doors will close and you have reached another checkpoint. For most of the time in the crashed ship, you should use your Wolf autopistol as Protoculture supplies for your Gallant will be at a minimum. There are four human sympathizers in this room all armed with Wolf autopistols. Once you kill them all, Guppy will tell you, "I can't get the door open, Locke. Arturo and I will have to find another route." Activate the console, which will drop the elevator to take you up to the next level.


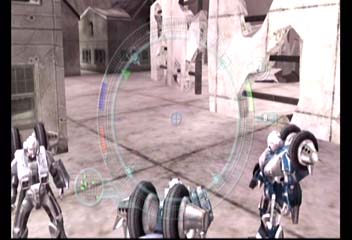
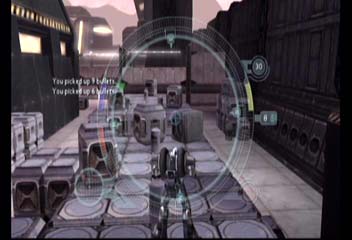
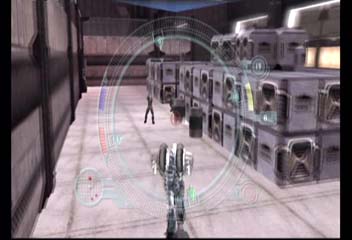
The elevator will take you into another mecha hanger filled with human sympathizers on two levels. There are a total of nine sympathizers on three levels all armed with Wolf auto pistols. Kill the four on the lower level and then try to pick off some of the enemies on the upper walkways.
Use the elevator in the corner to get onto the second level. and kill any remaining enemies. There is a health pack here in case you have been injured in any of the subsequent fights. After all the enemies have been killed, Arturo will tell Guppy: "Watch your step, Guppy - some of these lifts look like they've seen better days." Head down the hallway and drop down to the lower floor.
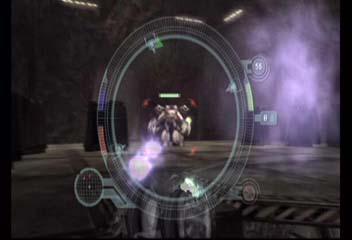
There will be an Alpha fighter in battloid mode on your right and you have reached another checkpoint. Guppy will say: "Oh man. I wish I had brought my conduit router with me. I could fix one of these Alphas in no time flat." Continue down the hallway into a large multi-level circular room with a fire burning in the center. Use the boxes as cover and kill off the five initial sympathizers in the room. Two more will center through the doorways after the first wave is killed.

Get on the lift and as it is traveling up to the third level drop off on the second. Kill off the sympathizer. Multi-Player Skin: Tasha's Saber multiplayer skin is located on this second level.

Get back on the lift and travel to the top floor. Kill the two sympathizers and head down the hallway exit. Travel down the "L" shaped hallway until you enter into another room will two sympathizers. As you enter the room another human will attack from the rear. Get on the diagonal lift.
As you are traveling down the lift, you will have another flashback.
Get out of the lift and head through the doors. You will enter into a room with some crates, head through the far door and down a longer hallway. Which will bring you outside the ship. You will reach a checkpoint.
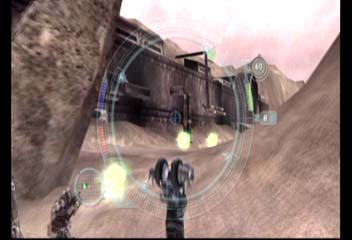
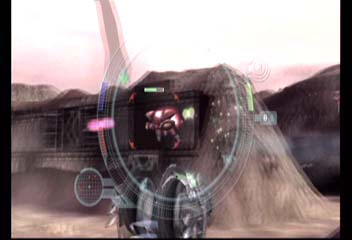
As you exit the ship, Guppy will tell you: "Arturo! Someone's shooting at us! Look out!" Booster over where Guppy and Arturo are located. There are several sympathizers attacking them with Wolf auto pistols. Sympathizer reinforcements come through cone shaped structures near where Guppy and Arturo are located. While they attack the forces currently above ground, you can ambush the sympathizers as they exit these structures.
After you kill approximately 8-10 sympathizers, depending on how many Guppy and Arturo kill, your team will get to a large mecha size gate.
Kills in this section - 33 Mercenaries
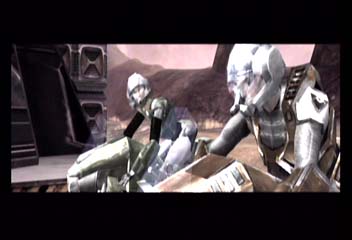
Notes-3: At the gate you will be introduced to a charming fellow named Dr. Osmund. He will have the following conversation with your team


You have reached another checkpoint. Head towards the left of the Osumnd's compound. As you reach the corner, you will get the following radio message conversation
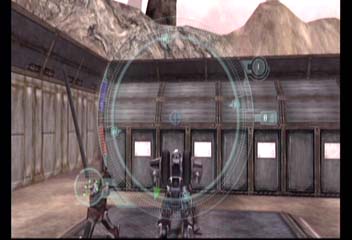
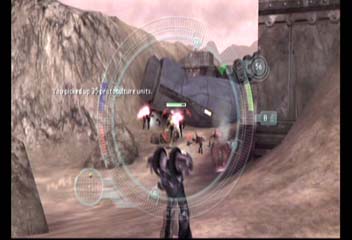
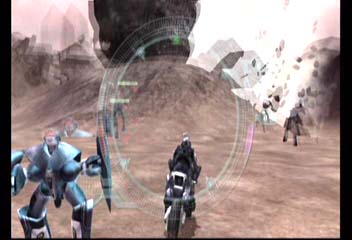
Destroy the barrels next to the wall to blow your way into the compound. Inside you have reached another checkpoint. Head towards your right and into an area with numerous crates and mercenaries. Kill the two mercs in the first area and head into the second "crate area" were there will be two more mercenaries with Wolf autopistols. There is a door in the wall which a constant supply of enemies will come out of, so try to clear a passageway down into the next area.

The door controls are located in this small structure, kill any guards and press the controls to allow you into the next area.

You are now in a much larger open area with numerous guards, still armed with Wolf autopistols. Head in the direction of your green objective arrow dispatching enemies along the way. There is another door through which enemy reinforcements can enter into the area. Again, clear a path and continue towards the objective without getting hung up on killing every enemy.

Around a corner and there is a health pack. You will have to head up the ramps to get to the next portion of the level.
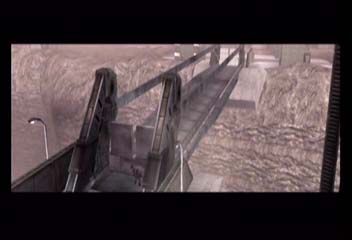
From on top of the bridge you can see down to the Destablizer tank. You will encounter it later in the game. The following conversation between two mercenaries will be overheard.
You have reached another check-point. There are six mercenaries in the tank holding area, use the zoom on your Wolf to snipe off any mercs in the area from on top of the bridge, before you head down. Finish off any remaining mercs before you continue. There is extra ammunition and health packs under the bridge from which you came into the "tank" testing grounds. There is another gate control area similar to the previous one which will allow you to open the next set of gates and continue into the compound.

You have reached another check-point. Head down the hallway and towards the right. Try to hit the mercs from long range with your Wolf in this area.

You will find another gate control and another door through which mercs can reinforce the area. Press the controls and enter into the next area.
You have reached another check-point. This area has some storage tanks and four mercenaries guarding the area. There is a health pack and extra ammunition around the other side of the tanks, away from the door.

Once you push this gate control, the main gates will open up letting Arturo and Guppy into the compound. Arturo and Guppy will have the following conversation:

Kills in this section - 32 Osmund mercenaries
Notes-4: You start in the sewers below the city, kill the three mercenaries and continue towards the green objective arrow. In the center of the sewers is a smaller perpendicular tunnel which to the left has some grenades.
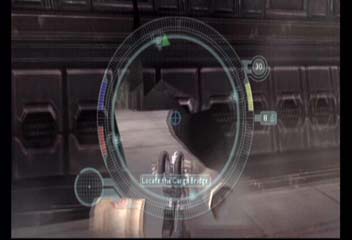
Continue down the tunnel until it ends, there you will find a health pack. Turn to your left where you will find a ladder leading up. Arturo will tell you: "The cargo bridge should be close. Hopefully at the end of these sewers." Head up the ladder and out of the sewers.
You enter into Granite City, and a check point, where there are numerous Invid Armored Scouts awaiting you and your party. Continue heading into the city at which point Arturo will say: "Oh great, the place is overrun with Invid too. Where are Silas and the others?" Continue down the main road in the city until meet up with Silas.
The following conversation takes place once you meet up with Silas:
Silas will blow the barricades blocking access to the bridge and you have reached a checkpoint. Head across the bridge whereupon you will be attacked by Invid Armor Scouts from both sides of the bridge which blow the bridge up. Silas will say: "Incoming!" as you fall to a secondary bridge immediately below the one which was destroyed. He will then ask: "Locke are you OK? Try to get back to the surface. We'll find another way across.".

Follow the subway tracks underground, where in the first cavern area you will be attacked by and Invid Shock Trooper and reach a check point. Destroy the Shock trooper and enter into the subway car. A computerized voice will tell you "Welcome to trans-Atlantic rail, we hope you will have a pleasant journey. Next stop Haven" You will crash through some rocks blocking your path. The computerized voice will then tell you, "The track is blocked. Please exit to your right." You have reached another check point.
Head up the passageway into another cavern with an Invid Shock Trooper and Trooper. They will not enter into the smaller passageway from hence you came, so snipe the enemies from this area before entering into the room. Head up the lift and into another under ground room guarded by a second Trooper/Shock Trooper combination. There is no "safe" area to fight these mecha from so use the traditional circle attack on the enemies are attack from the cover of the large containers on either side of the room. There are two health packs on the right side of the room should you need them. Head up the tunnel back to the surface.
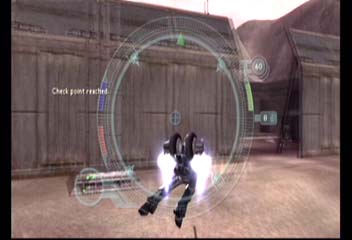
One the surface Silas will order you: "Locke, get to base camp. We need to take down that hive." You have reached another check point. Once you get to the surface, you will have another flashback.
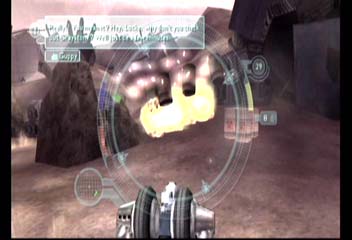
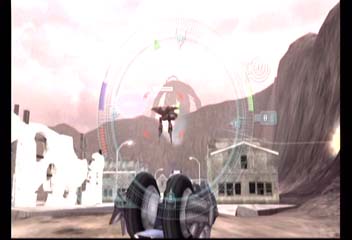
The truck driver will say, "Mother of mercy they are all over the place! I need to get to base camp fast. Can you help. The turret I am hauling packs quite a punch. It's our only chance against these hordes." Man the turret and the truck driver will take you to base camp. The turret is capable of destroying Invid Armored Scouts with one shot. However, you will have no control over the vehicles movement. There are five Armored Scouts just out side the city which need to be knocked out.

The truck will travel down some valleys away from the city. The first wave of four Armored Scouts will attack from the front approximately 5 seconds after you leave Granite City. Additional reinforcements will arrive from the front with a total of nine Armored Scouts attacking in two waves.

You will see a crashed Garfish cruiser, when four Enforcers will come out of the ground. An additional four will come out as reinforcements; however, they are slower than your truck and you can outrun them.
On the other side of the Garfish are four more Enforcers.
The driver will take you to the right canyon which dead ends. The driver will tell you , "No way through cover the rear while I back this thing up. Come on piece of junk! Not now, not now! Damm I can't get it started. Keep them off us. " The truck will stall and you will have to fight off multiple waves of Invid before turning back around. Around wave 4 (10 Armored Scouts and 8 Enforcers) the driver will tell you, "Not much longer now. We are almost there
Around Wave 6 (15 Armored Scouts and 12 Enforcers) Invid plasma will come from the sky The Driver will then say: "There we go let's get the heck out of here." He will turn the truck around and back towards the crashed Garfish.
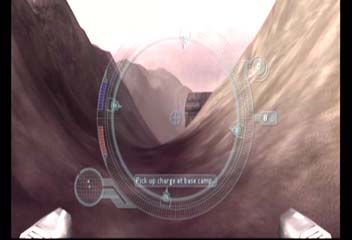
Once you get back to the Garfish, the Truck driver will take the left passage which leads to the REF base. There are several Armored Scouts attacking the REF base up this canyon. Silas will radio, "This hive looks like it has been reinforced. We'll have to hit it harder than the last one. Three stilt busters should do it. Gamma team has the first charge. I've got the second. Locke pick up the third charge at the base camp and head for the closest stilt."
Jump out of the turret and go into the base, where you have reached a check point. Inside the base are several health boosters and the stilt buster bomb. Transform into cycle mode and boost down the valleys towards the hive.
You will first come across some REF soldiers fighting Invid Armored Scouts and Enforcers from behind cover. Destroy them and continue down the valley.
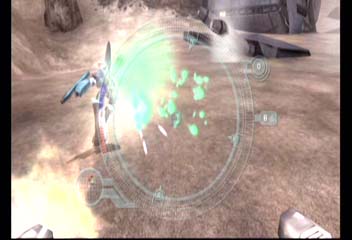
Several seconds down the valley a group of four Enforcers will jump out of the ground. Launch missiles at them and transform into battloid to finish them off. An damaged Alpha fighter will crash into the group killing some. There is another group of three Enforcers and an Armored Scout fighting in the clearing where the Alpha fighter crashed.

If you head pass the downed alpha fighter you will reach a dead end where some REF personnel are in a desperate fight against three Invid Armored Scouts. After saving them head back to the original canyon from which you came.
If you need it there is a health booster next to the downed Alpha fighter. You will receive the following message from Scott Bernard: "The Invid presence here has multiplied since last night. Silas we'll cover you. Stay hidden if you can" There are three Armored Scouts and two Enforcer in this area which will attack you during this message.
Follow the green objective arrow to the first stilt. Upon arriving six Enforcers will pop out of the ground and try to prevent you from planting the device. Kill a couple of them and rush up to the stilt to plant the bomb. The game will not allow you plant the bomb without killing a couple of the Invid.
After you plant the bomb, Silas will radio, "Taking heavy fire! Requesting assistance!" Transform into cycle mode and follow the green arrow towards Silas. He is approximately 10 seconds travel time from the first stilt and is under attack by an Armored Scout. Head back up the canyon with Silas and you will be attacked by a group of two Armored Scouts and three Enforcers.
After you kill the first wave of Armored Scouts, Silas will run towards the stilt and be chased by any remaining Enforcers and two additional Armored Scouts. He will place the second charge on the stilt and then radio, "Perfect, the second charge is in place. Gamma team what's your status? Hmm no response Locke, go find Gamma team. I'll hold this position. We need that third mine."
Follow the green objective arrow towards Gamma team, which is the only direction from the stilt which you have not explored yet. There are a couple of REF personnel fighting three Enforcers on the way to Gamma team. Scott Bernard will radio, "What's the hold up? Where's Gamma team? Gamma team, come in!"
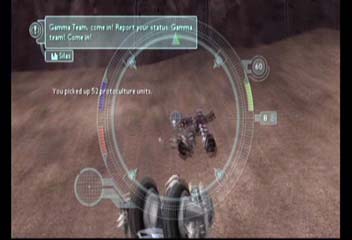
You will discover that Gamma team was wiped out by the Invid and there are two Invid Armored Scouts patrolling their remains. Silas will radio, "Gamma team, come in! Report your status. Gamma Team! Come In!" Pick up the bomb off the remains of a Gamma team member and head back to the stilt. There will be additional Invid blocking your way, fire missiles to clear the way but concentrate on getting back to the stilt.
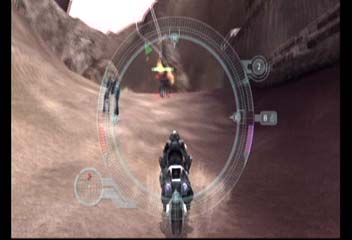
Plant the third bomb, at which point Silas will radio, "All three charges are in place. All personnel fall back to base camp fast!" You have 60 seconds to make it back to base camp, so transform into cycle mode and booster away from the hive following the green objective arrows back to the REF base camp.

Kills in this section - 3 Mercenaries, 69 Armored Scouts, 2 Shock Troopers, 2 Troopers, and 39 Enforcers
Conclusion:
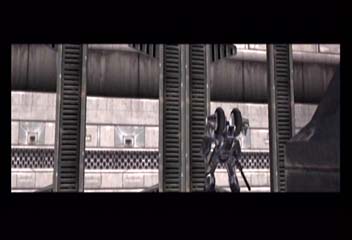
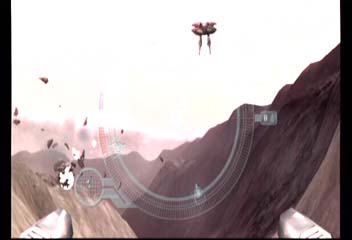
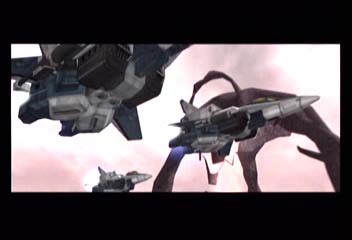
You will see the Stilt Hive explode and Scott Bernard's freedom fighters pass over head in their alpha fighters.

The following dialog will occur at the conclusion

Final kills on this level - 76 Mercenaries, 39 Enforcers, 77 Armored Scouts, 2 Troopers, and 2 Shock Troopers
Back to Desert Outpost or Next Bygone Marshes
Comments or Questions? E-mail